Create a new docker file at the following path and add the content provided below.
sudo mkdir /etc/resolver
sudo touch /etc/resolver/docker
nameserver 127.0.0.1
port 19322
Create the following directories.
mkdir -p ~/.dinghy/certs
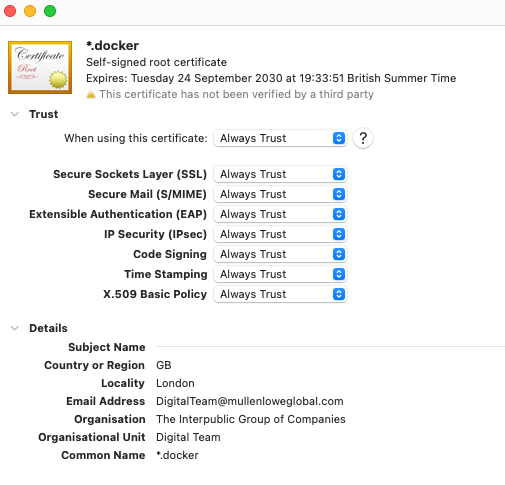
Then, inside the certs directory, create a new self-signed Docker certificate.
openssl req -x509 -newkey rsa:4096 -keyout docker.key \
-out docker.crt -days 2000 -nodes \
-subj "/C=GB/L=London/emailAddress=no-reply@bxops.com/O=BX Ops/OU=Dev Team/CN=*.docker" \
-config <(cat /etc/ssl/openssl.cnf <(printf "[SAN]\nsubjectAltName=DNS:*.docker, IP:127.0.0.1")) \
-reqexts SAN -extensions SAN
You may want to double-click the docker.crt file to add it to your computer’s keychain.
Run the following command to set up a local HTTP proxy.
docker run -d --restart=always \
  -v /var/run/docker.sock:/tmp/docker.sock:ro \
  -v ~/.dinghy/certs:/etc/nginx/certs \
  -p 80:80 -p 443:443 -p 19322:19322/udp \
  -e DNS_IP=127.0.0.1 -e CONTAINER_NAME=http-proxy -e HTTPS_METHOD=noredirect \
  --name http-proxy \
  codekitchen/dinghy-http-proxy
Run the following command to run local Portainer instance.
docker run -d --restart=always --name=portainer --privileged -p 9000:9000 -v /var/run/docker.sock:/var/run/docker.sock portainer/portainer
Open your web browser and navigate to http://portainer.docker:9000/ to complete the Portainer setup by following the on-screen instructions.
Run the following command to run local Adminer instance.
docker run --restart=always -d -e VIRTUAL_HOST=adminer.docker -e ADMINER_DESIGN=flat -e ADMINER_PLUGINS='tables-filter json-column pretty-json-column dump-php dump-json dump-date dump-bz2 dump-date table-structure table-indexes-structure edit-calendar edit-foreign edit-textarea foreign-system select-email' --name=adminer adminer:latest
Go to https://adminer.docker/ to access Adminer web interface.